Materials used
| No. | Part Name | Image |
|---|---|---|
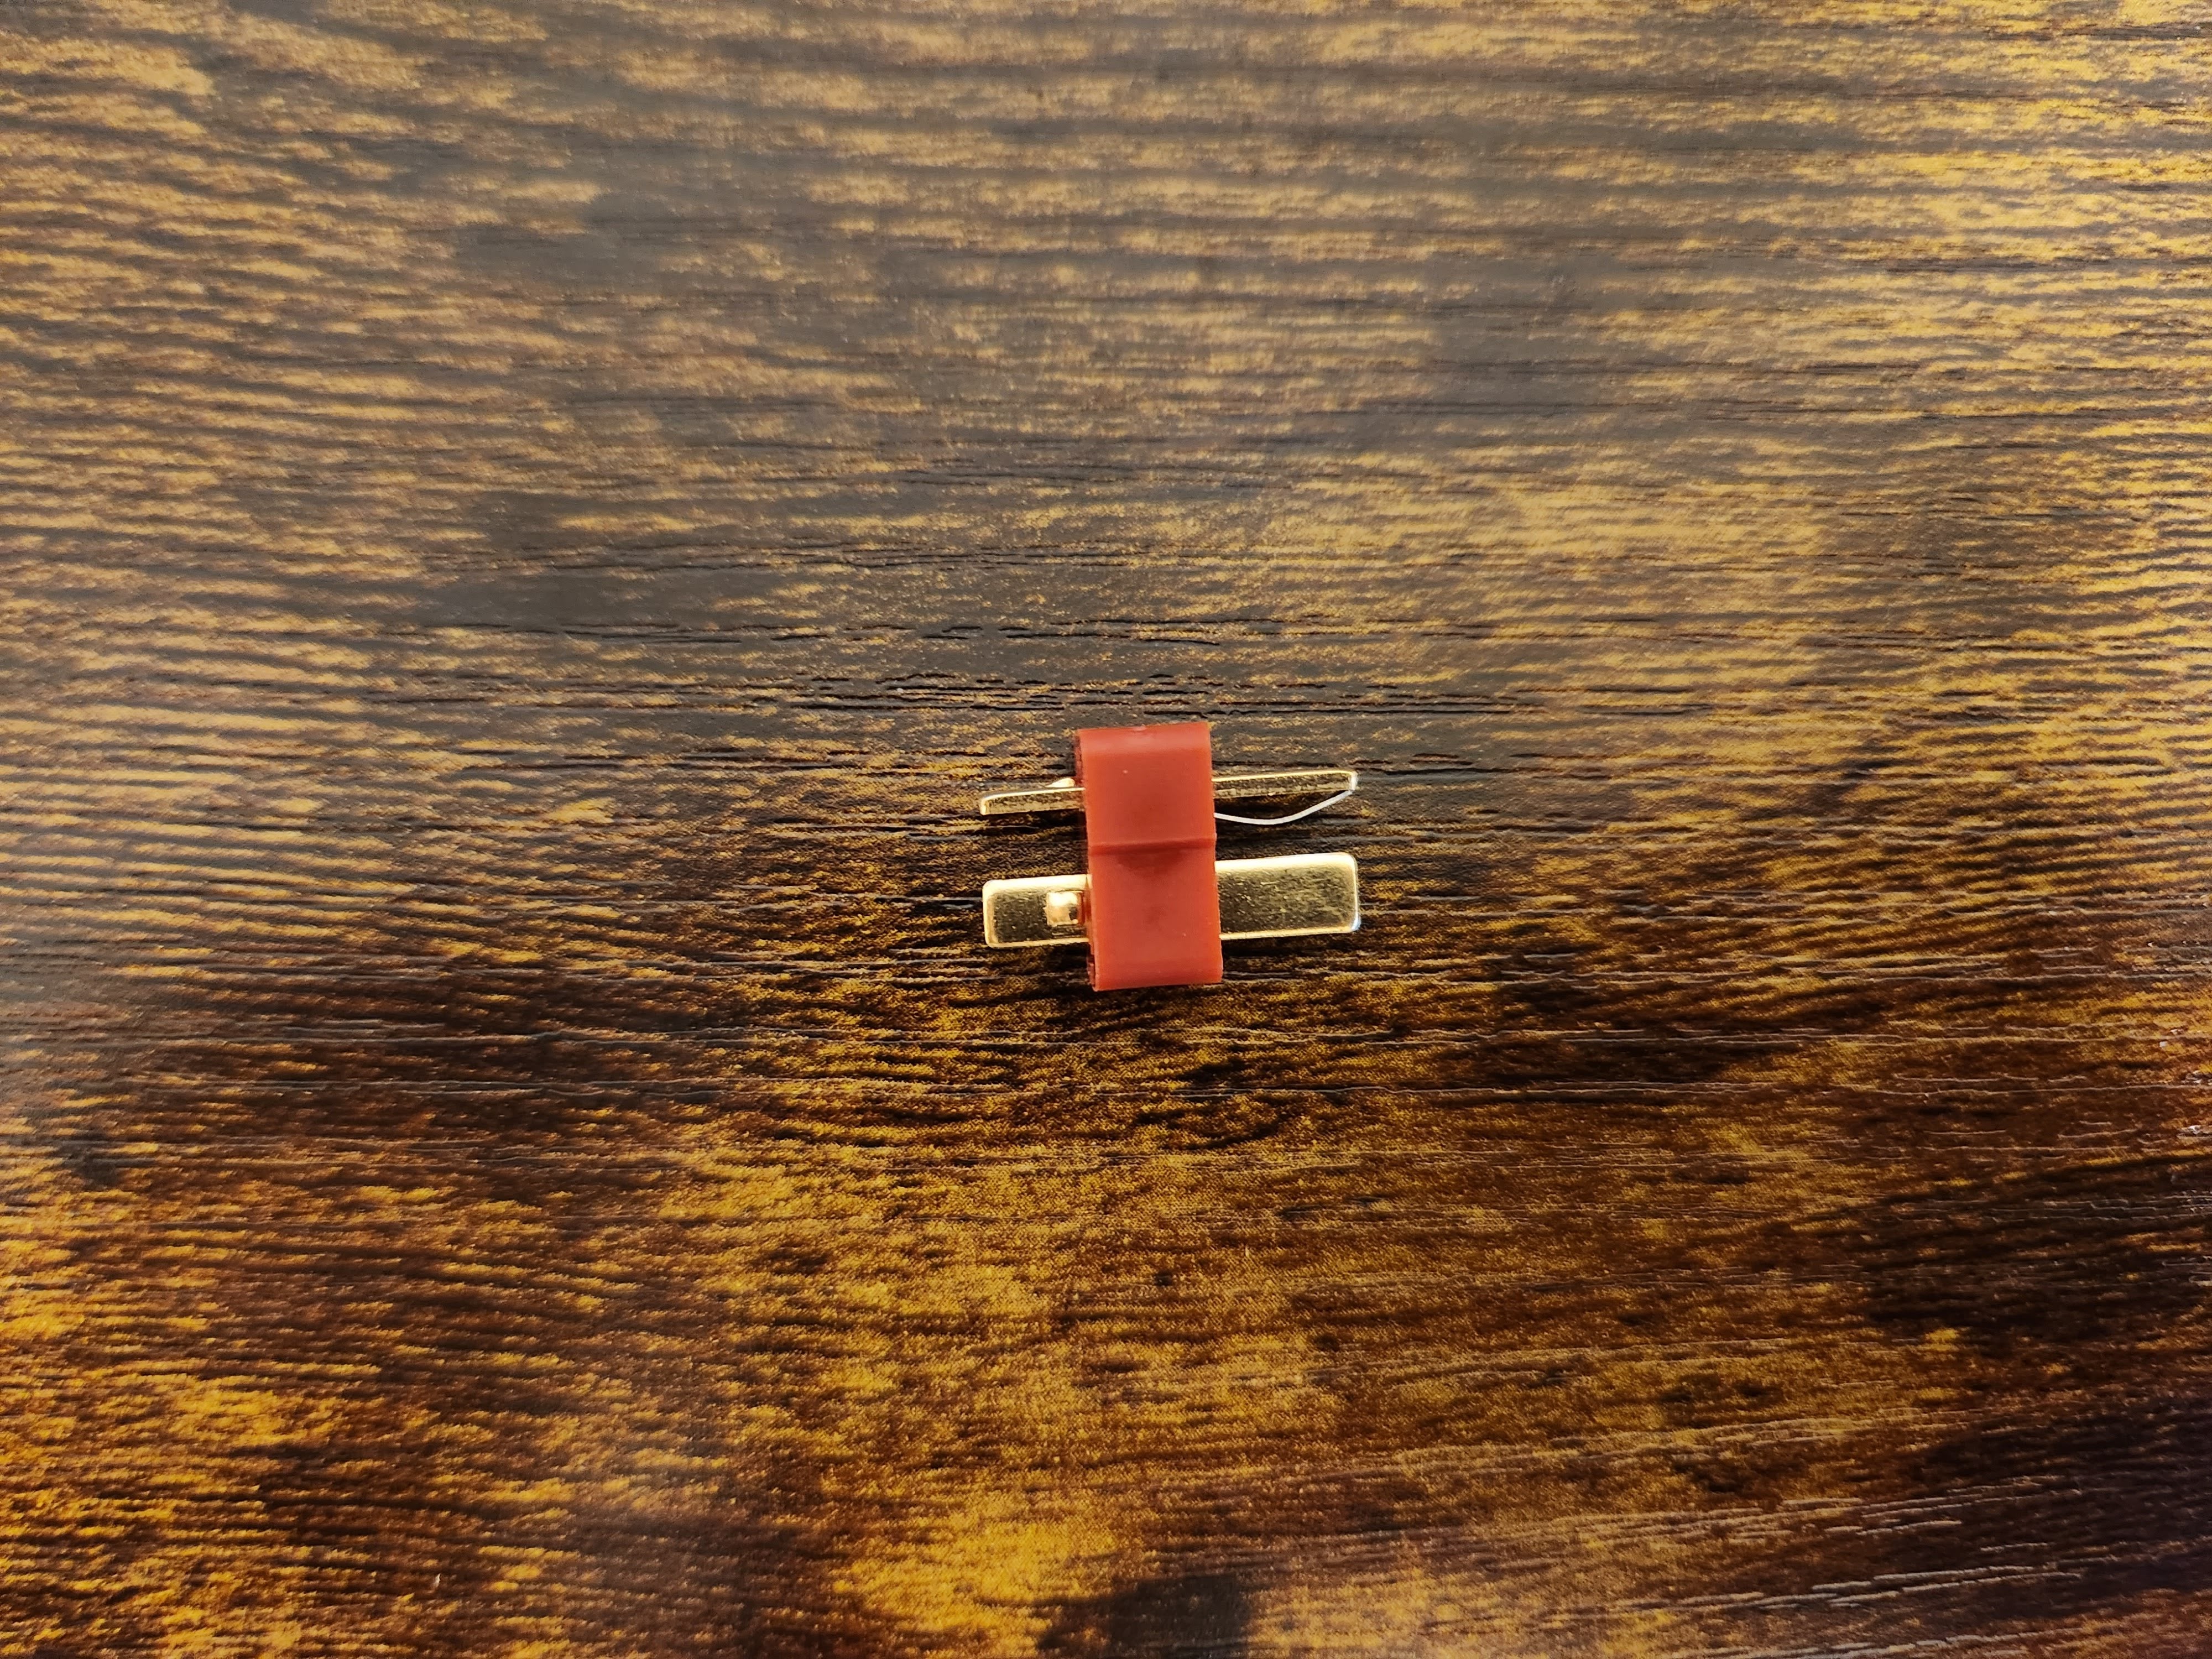
| 1. | MALE T CONNECTOR X1 |  |
| 2. | Zircon PCB x1 |  |
Tools needed
| No. | Part Name | Image |
|---|---|---|
| 1. | SOLDERING IRON |  |
| 2. | SOLDER |  |
We need to put the battery port onto the robot. To do that, we will use soldering.
What is Soldering?
Soldering is used to make an electrical connection between two parts. It involves melting the solder with the soldering iron and touching the molten solder onto where the connection is needed.
{{< youtube id="h9W6vAAQsMs">}}
If you want extra practice before getting started on the kit, you can use something like https://www.sparkfun.com/products/14635.
Battery port
We will now install the battery port on the robot.
Find the red male T-connector

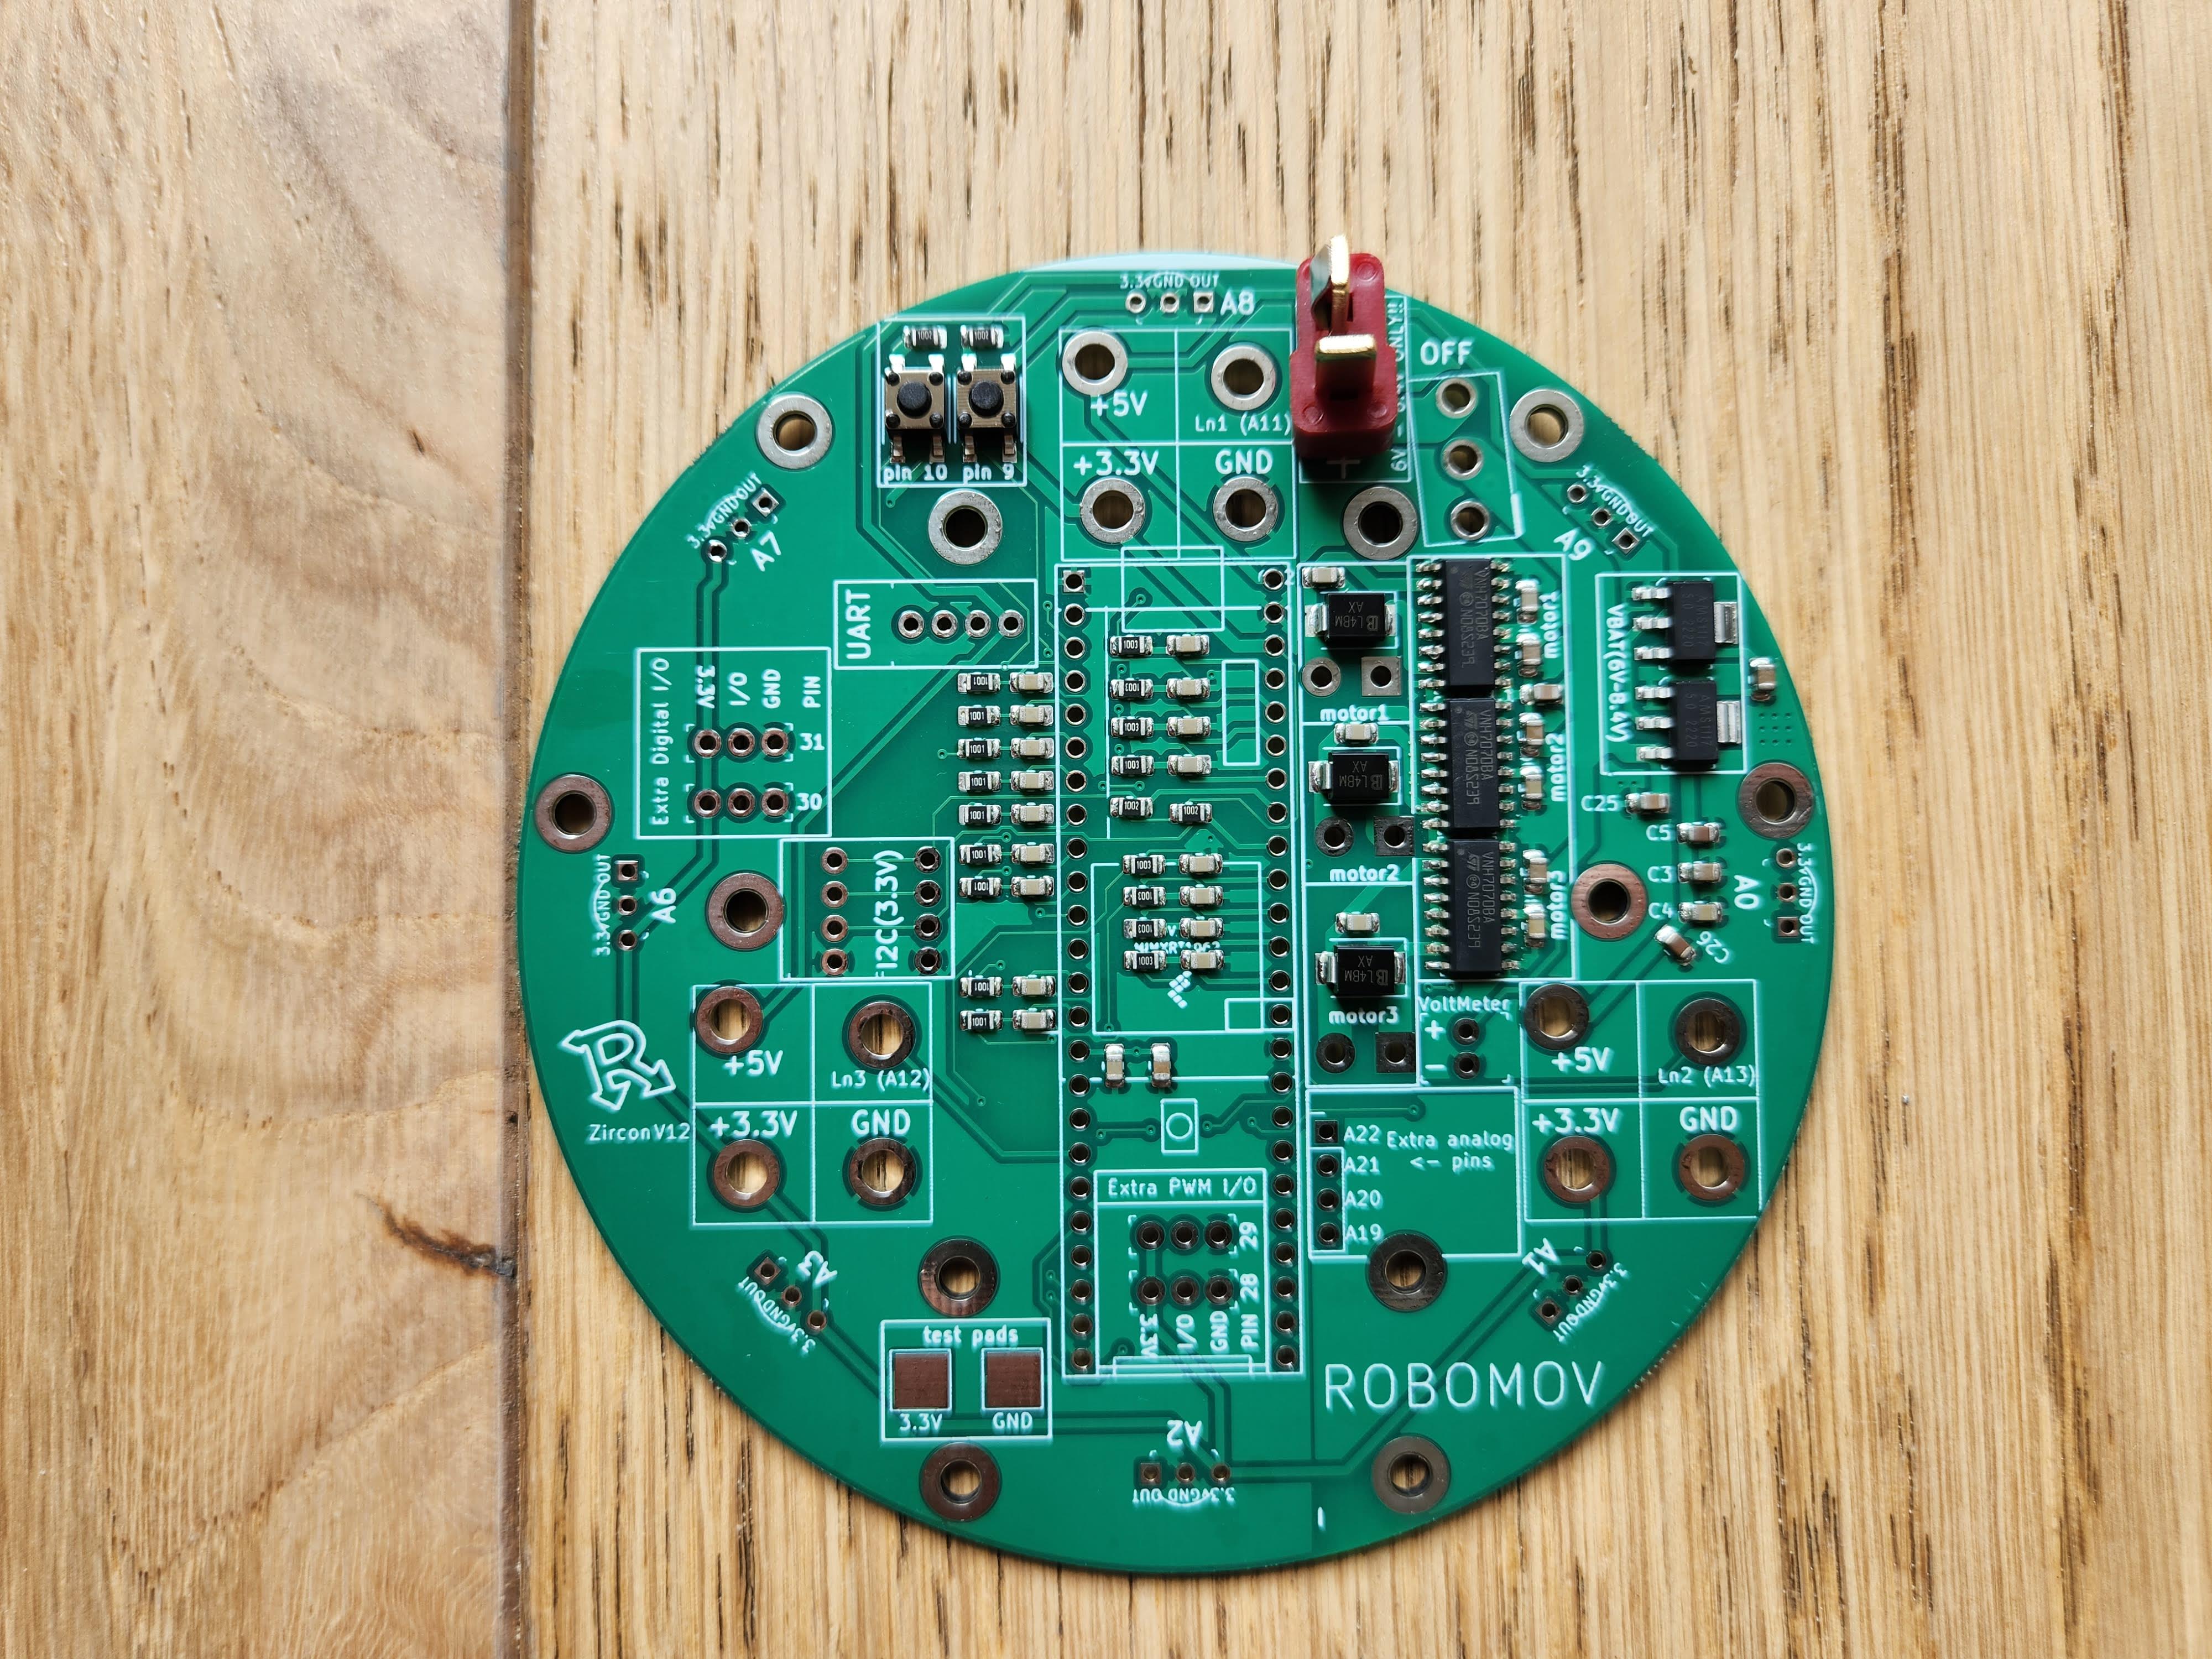
Put it in the slot on the Zircon PCB (main board). Make sure your board is right side up as in the picture.


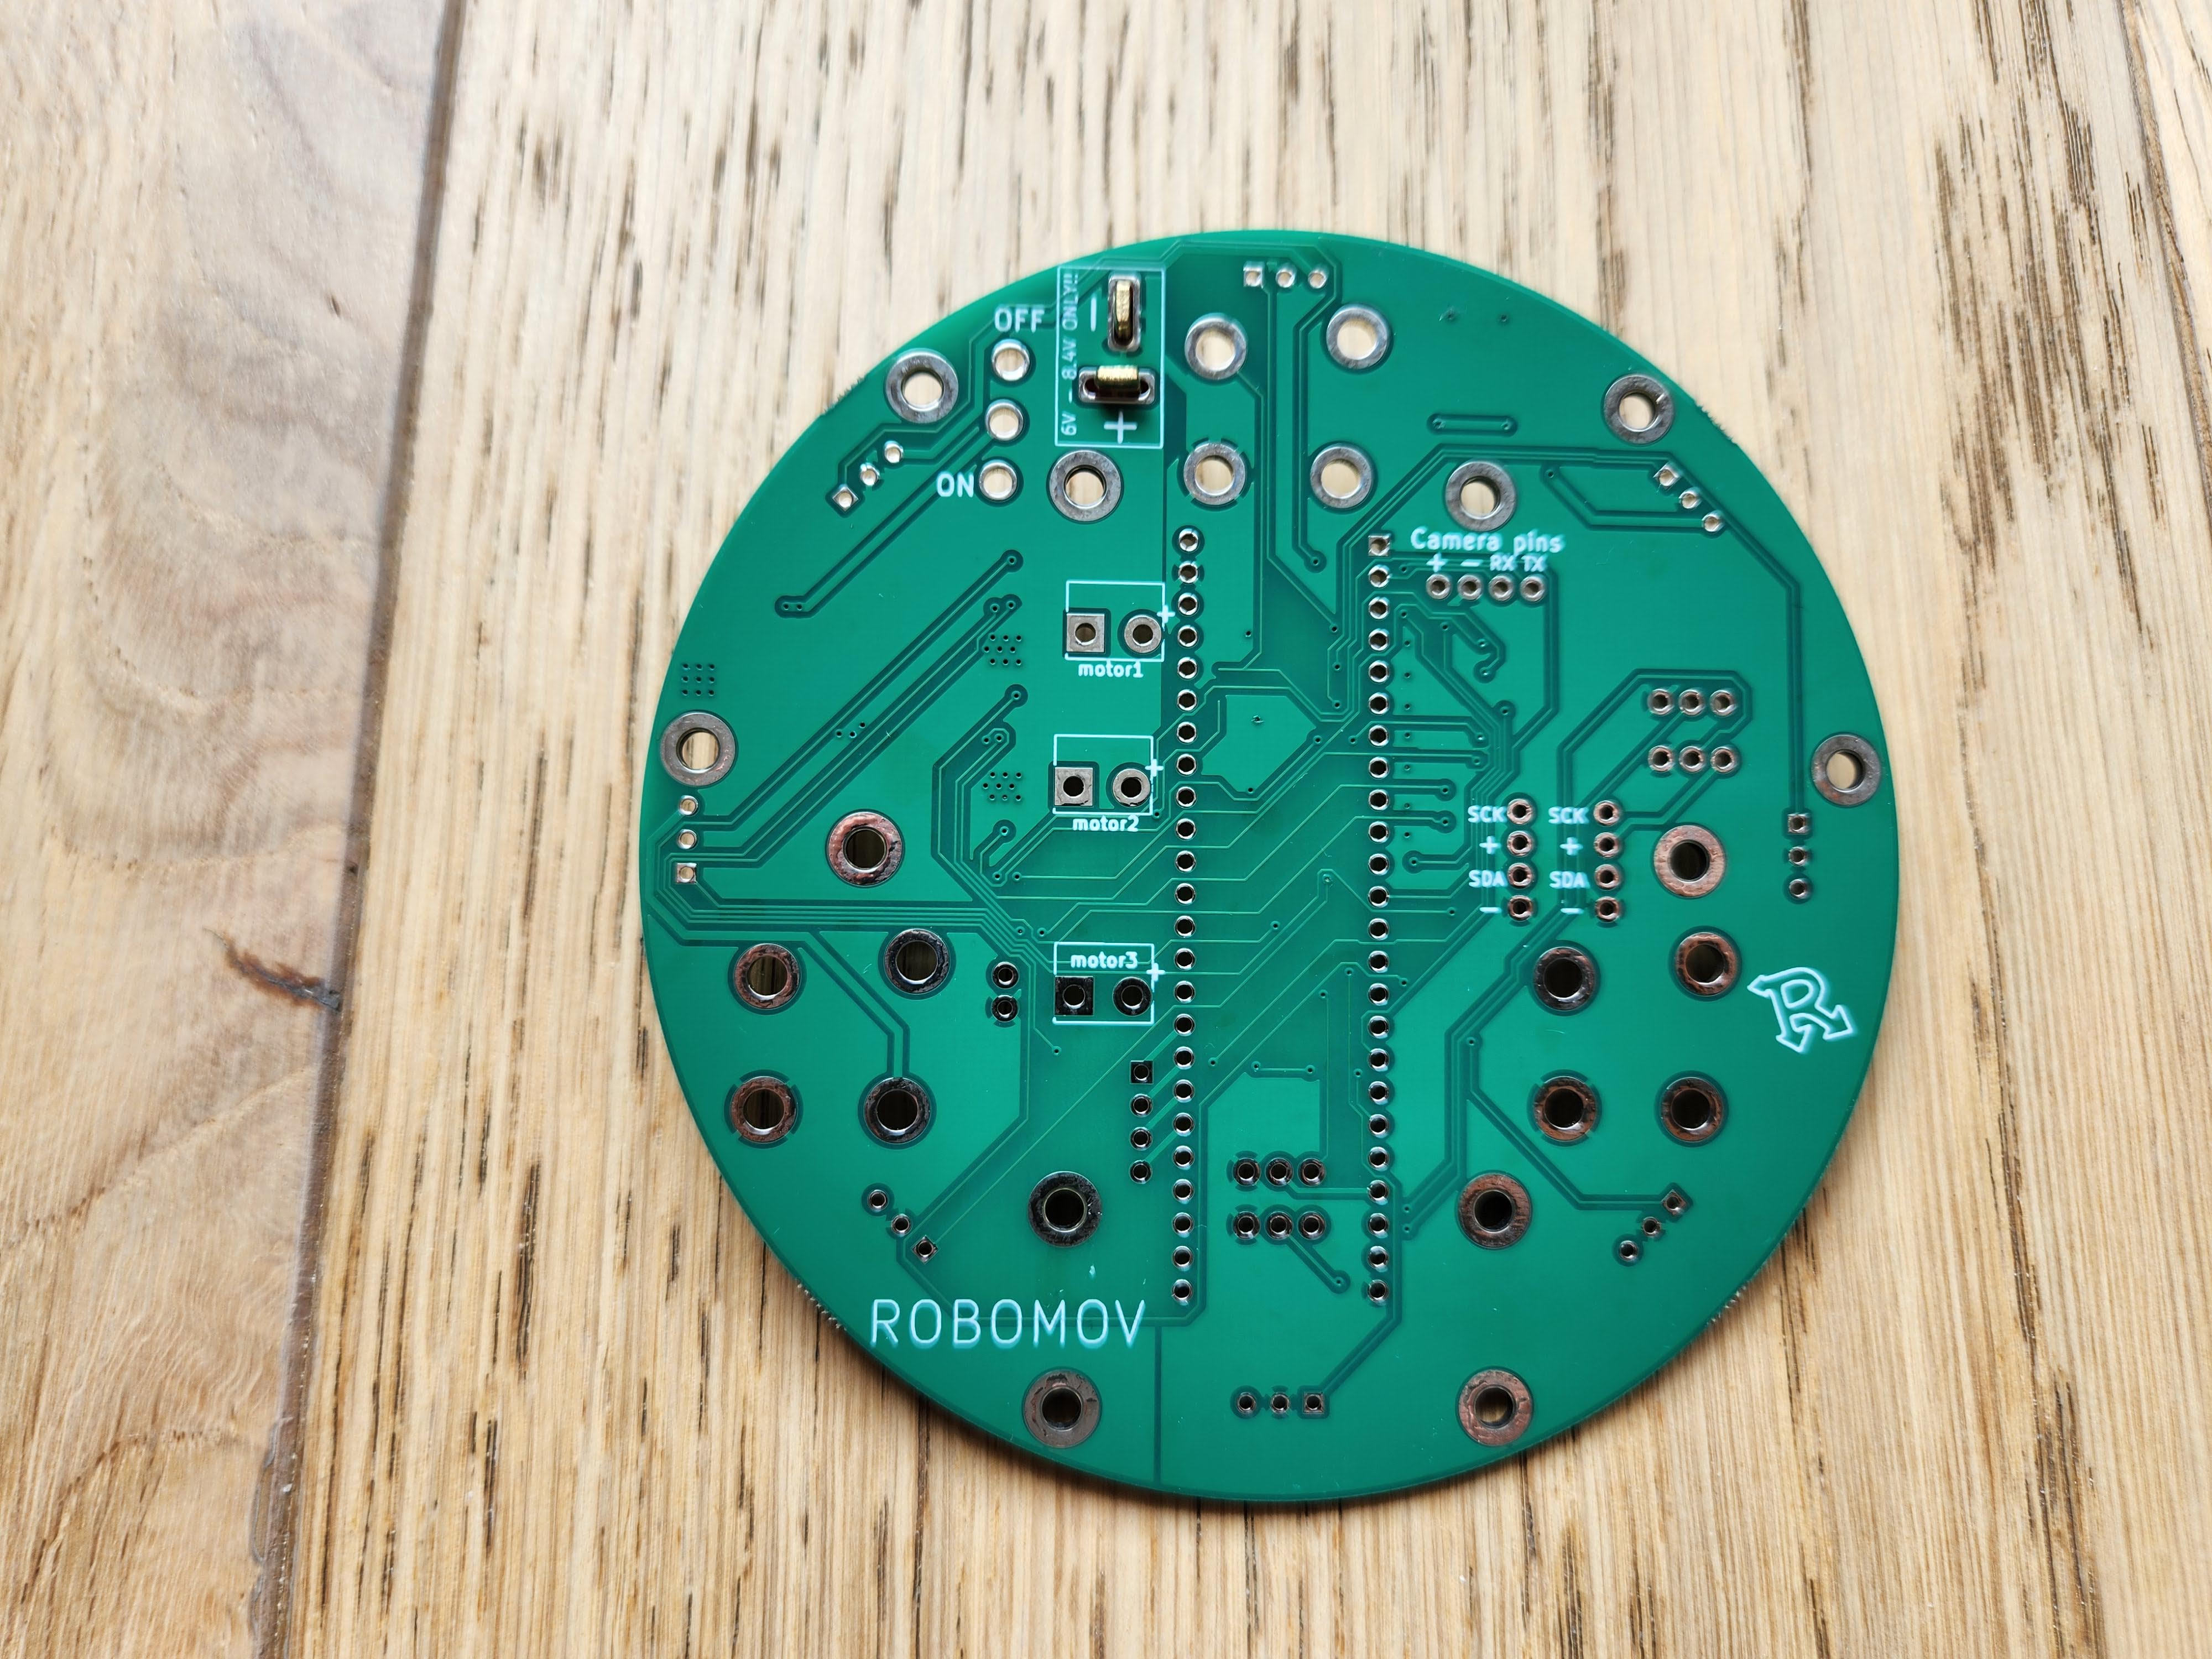
Turn the board over and solder the connector to the board.

Afterwards your board should look like this.

