
Setup:
Make sure to select English:

Project 1 Move forward
To move forward, we need to make a program to go forward, upload it to the robot, then start the program on the robot.
Step 1: Making a program to go forward
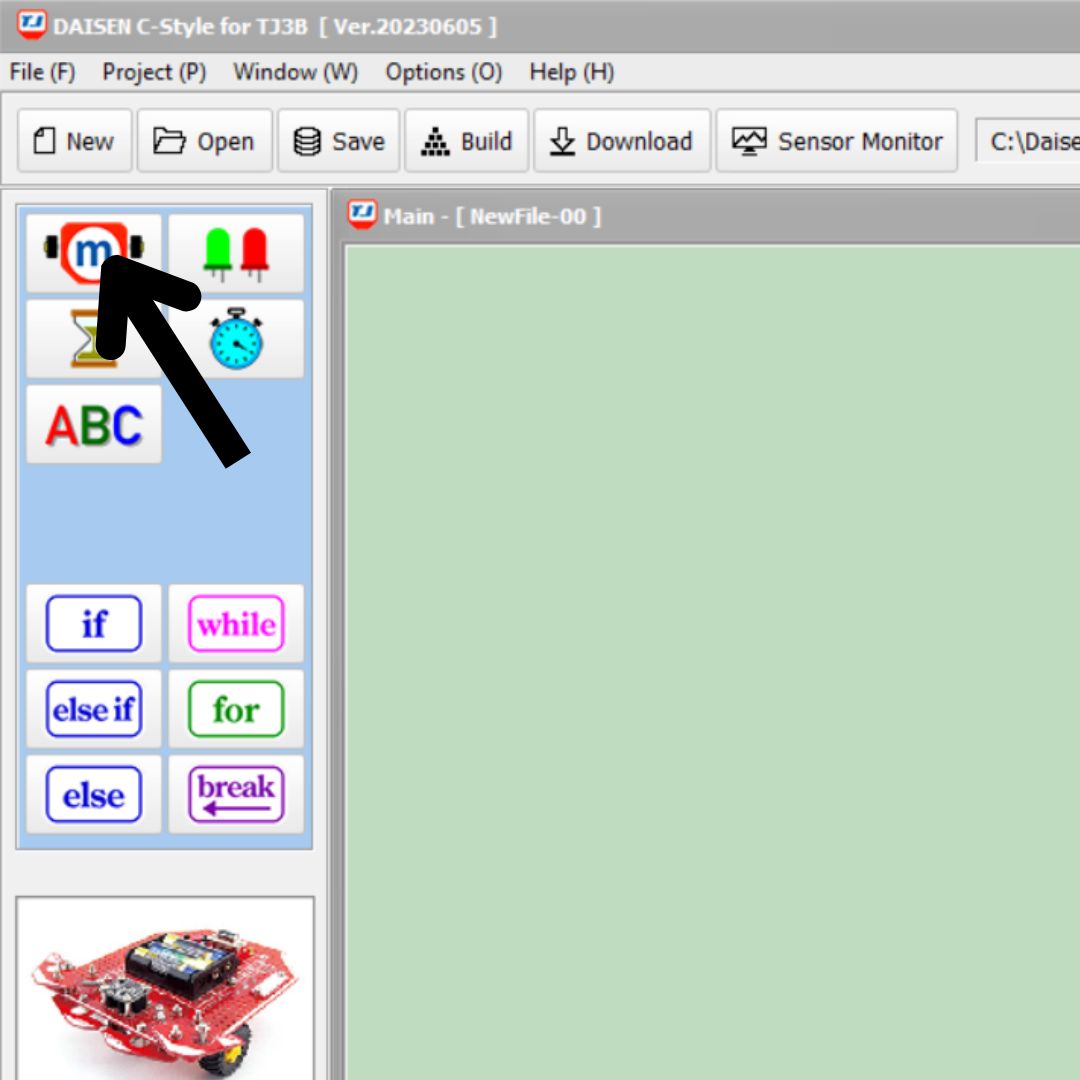
- Click on the motor block, then click in the green area

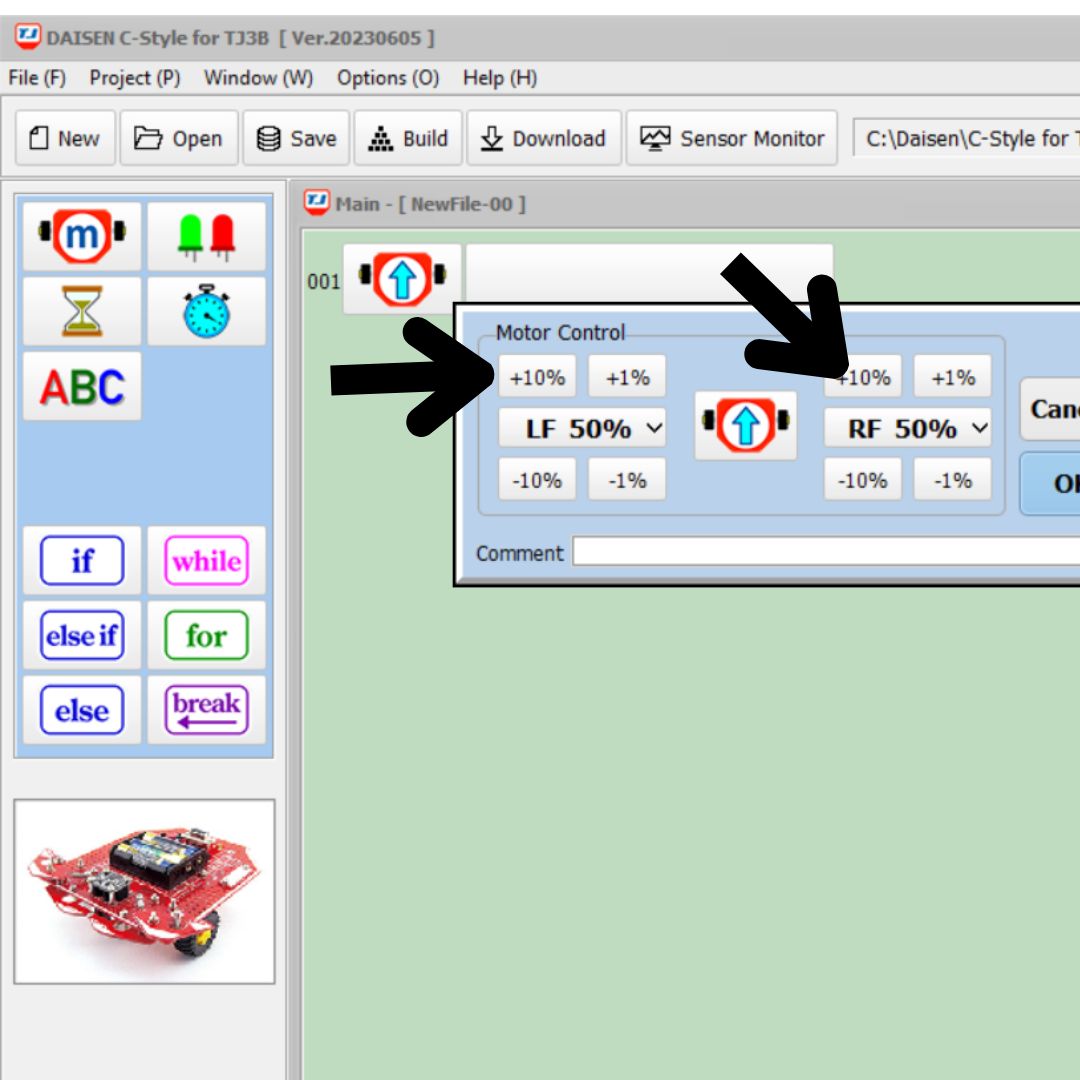
The settings for the motor block should pop up. Click the left and right button that say “+10%” to bring the motor powers up to 100% each. Then press OK. The left number represents the power of the left motor and the right button represents the power of the right motor.

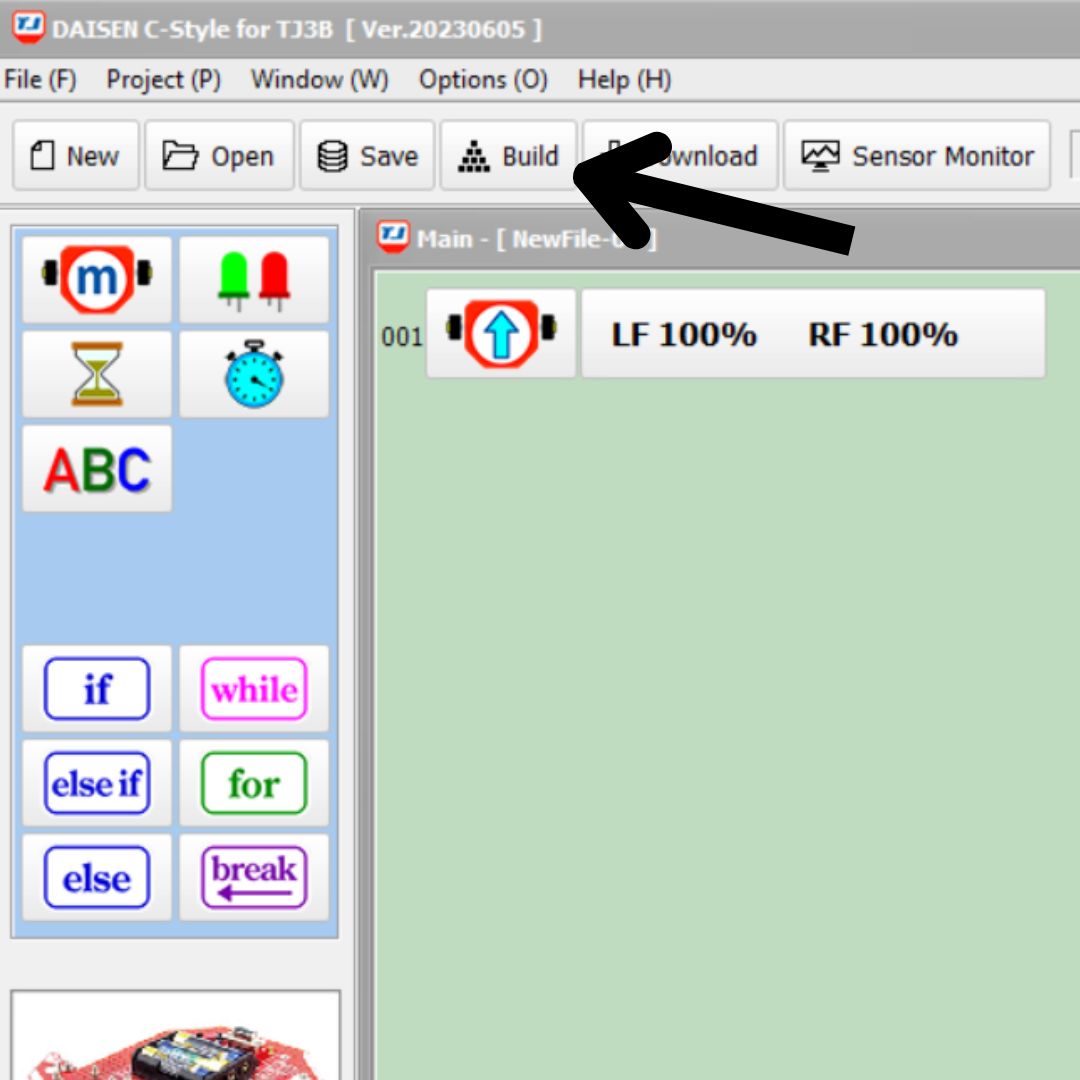
Now you should have a program that looks like this:

Step 2: uploading your program
Click the button named “Build” to convert your program into C-code.
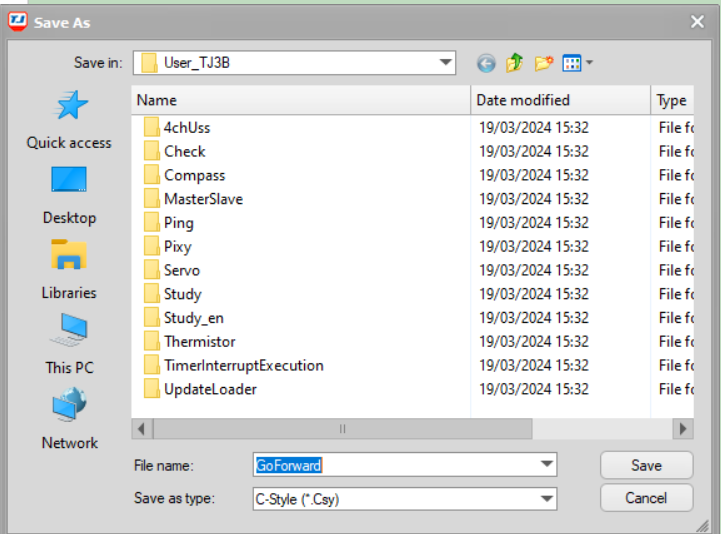
A prompt to save your program will appear. Give it any name you like, in this case I named it “GoForward”. Click save.
A new build screen should appear. Click build to see your code compiled into C.

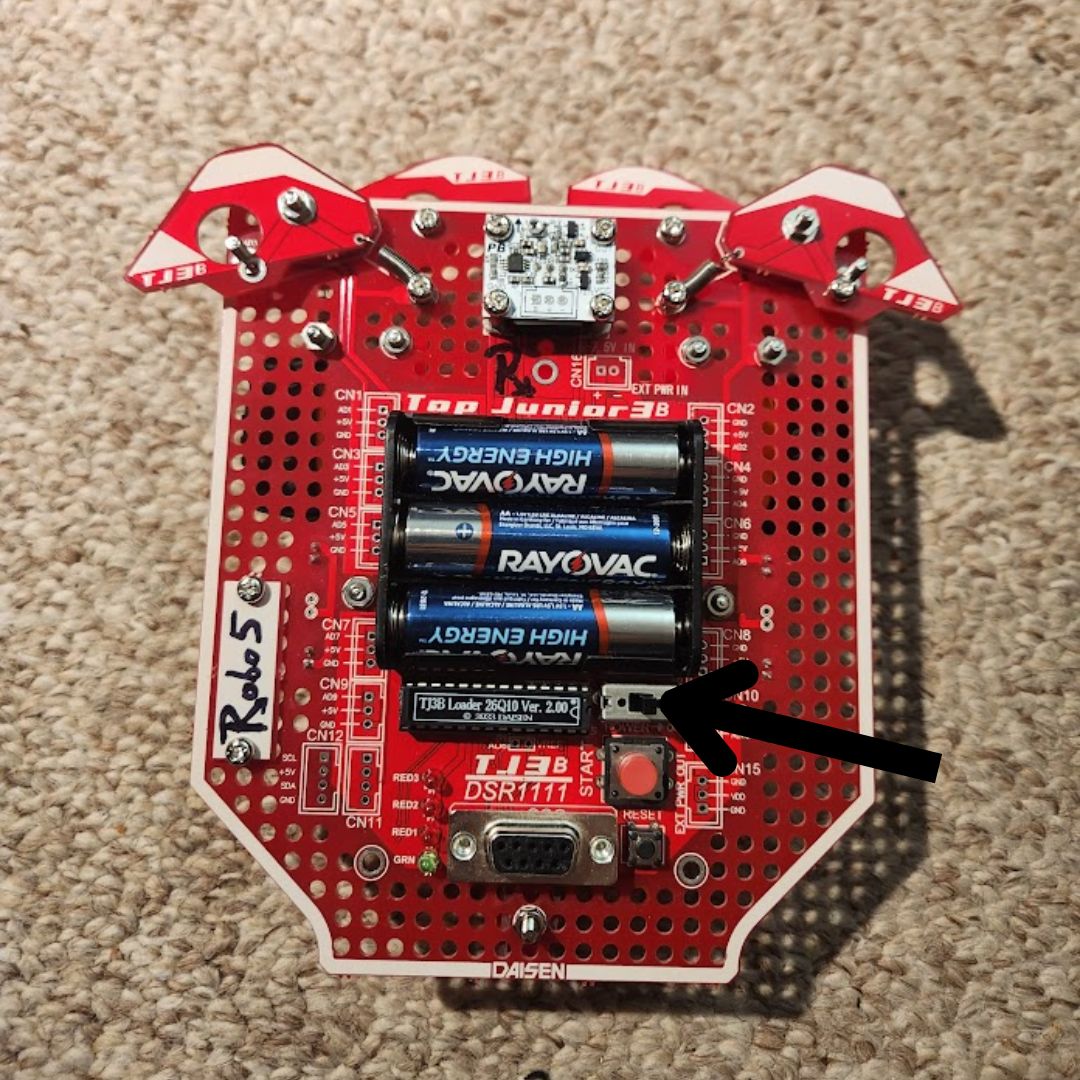
After the build completes, you will be faced with a download prompt. This will download your program from your computer to the robot. Make sure your robot is plugged into your computer and turned on (flip the black and silver switch). IF THIS STEP DOESN'T WORK make sure you connected your robot to your computer and turned it on.
Press start.

After the download is complete, unplug the robot from the computer.
Congratulations! You just uploaded your first program.
Step 3: Start the program on the robot
Find a clear open floor to test your robot. Place your robot gently on the floor.
Turn on the robot by flipping the black silver switch.
Start the program by pressing the big pink button.
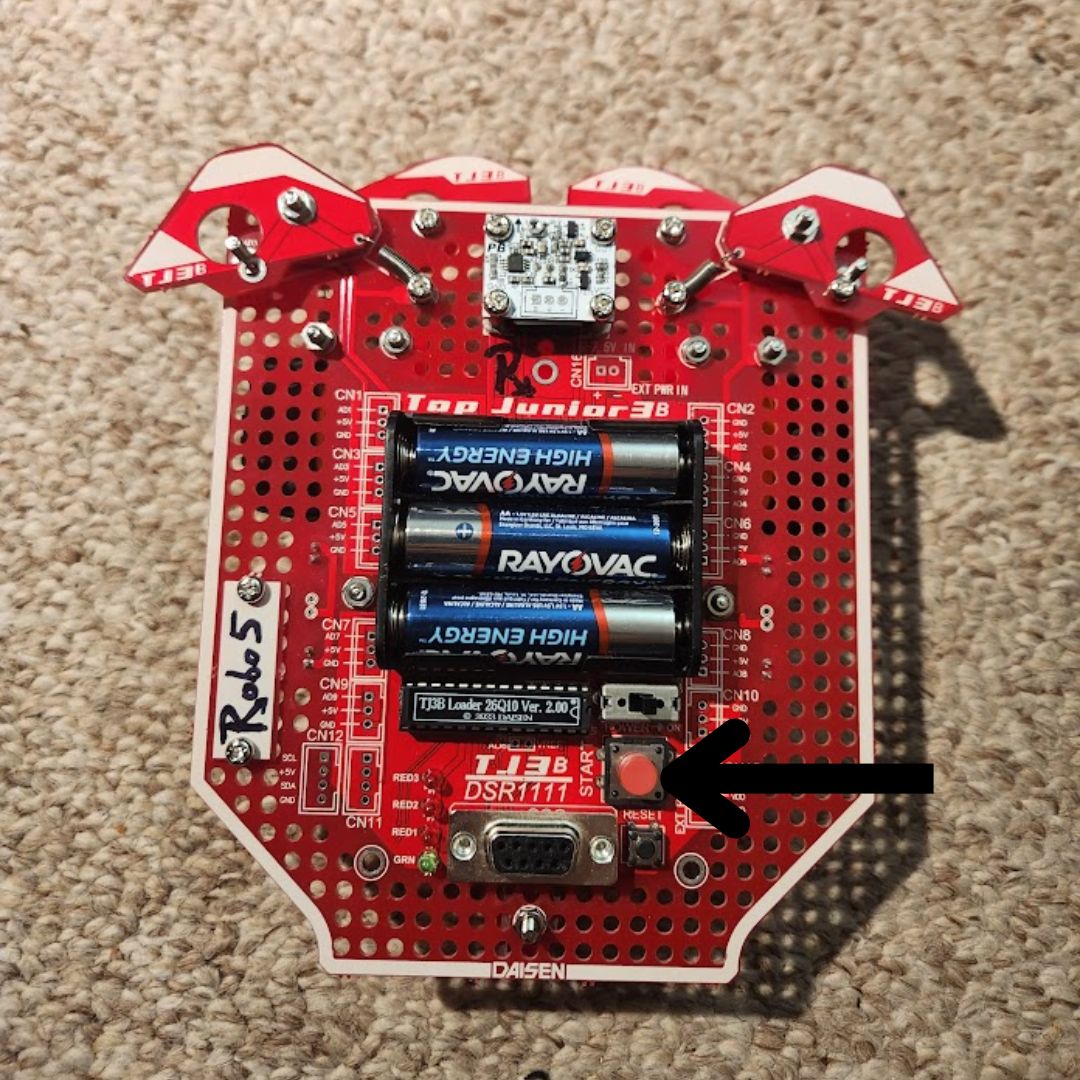
To stop the program, press the pink button again, or turn the robot off by flipping the on/off switch.